Directions
-
Step 1 Cut a Hole In A Box Your Material
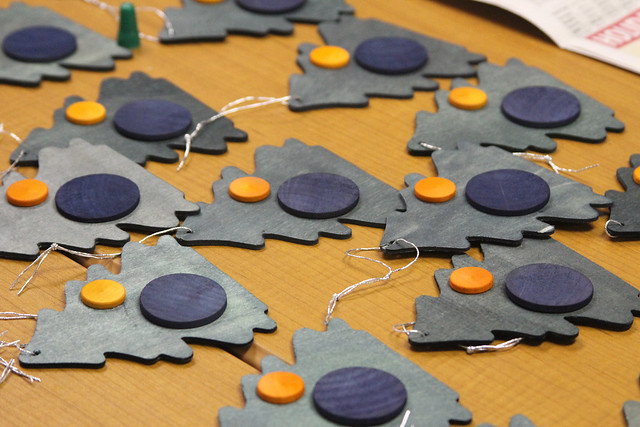
Select a non-load-bearing piece of plywood from the IKEA bookshelf you partially assembled or heavy cardboard from that new Amazon purchase and cut it to your desired shape. Note: we chose to make a tree out of wood — mind blown!

-
Step 2 Drill And Thread
Drill a hole at the top, or your preferred “hanging zone” (industry term), and then thread a ribbon, shoe lace, gold chain, or frayed piece of yarn through the aforementioned hole with the patience of a 4-year-old playing Operation.

-
Step 3 Bling It Out - Optional
Decorate! Or, for you minimalists: Don’t! We dyed our trees and used a custom branding iron (on most) because nothing says holidays like Viget roasting on an open fire. But when the branding iron broke, no one was brave enough to volunteer their bare hands as tribute to brand the rest.

-
Step 4 Make It Smelly
We used essential oils to get Vigebreeze smelling piney and fresh. Note: We do not recommend leaving out this step; however, if you do, good news — you’ve just created a homemade ornament!

-
Step 5 Breathe In The Sweet, Sweet Smell Of Success
Because you did it! You read the directions and MADE something! Bravo Holiday Friend, Bravo!

Photos

Vigebreeze may seem good enough to eat like some of our past holiday treats, such as Vigelicious, VigetRocks, VigePops, Vigetreats, or Vigesauce, but don’t let your nose mislead you.
This year’s gift is about as edible as the fruitcake you use to steady the uneven dining table when company comes over, and its shelf life is equally notable. Like VigorBalm, Vigoroma, Vigetags, Vigeturf, Vigegram, and Vige-Doh that came before it, Vigebreeze is built to last longer than lingering houseguests.


